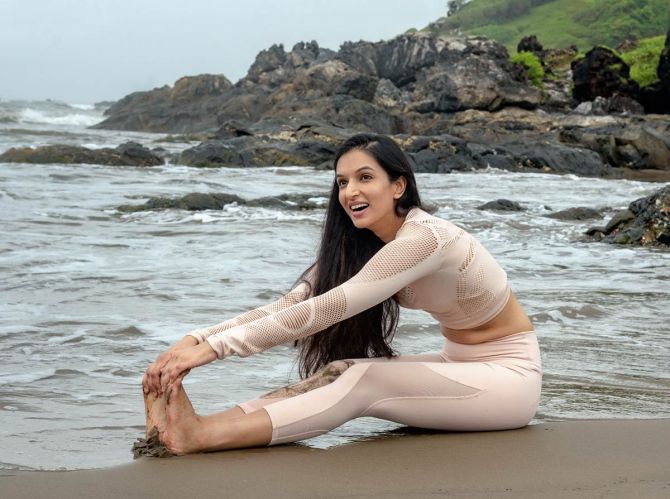
Ira Trivedi, wellness expert and founder of Yog Love, shows you how to strengthen your hip muscles.
At some point of time, all of us must have experienced a feeling of tightness across the hips.
Usually this happens due tension around the hip flexors.
The hip flexors are a group of muscles around the top of the thighs that connect the upper leg to the hip. These muscles allow you to bend at the waist and raise your leg.
Symptoms you have tight hips:
- Tightness or an ache in your lower back, especially when standing
- Poor posture and difficulty standing up straight
- Neck tightness and pain
- Pain in the glutes
- Includes lower back pain and hip pain
Hip stiffness is the feeling that your hip joint doesn’t move as easily as it once did, and it’s generally painful.
You may feel as if your hip is clicking or popping as you move. Your range of motion may also be affected.
Sometimes hip stiffness may make you move more slowly than you used to.
Pain and discomfort from tight hips are normally felt in the upper groin area. You may also experience lower back pain or hamstring strain.
Tight hips often lead to issues in the low back and knees.
Many people have tight hips, from people who spend several hours a day sitting to regular gym-goers and professional athletes.
Some people are more prone to tightness in that area of their body, too. Tight hips may put you at increased risk for injury due to the increased demands on tissues that aren’t moving properly.
Stretching and regular massage can help reduce your risk for muscle tightness and pain.
Some postures you can try to strengthen your hips and get rid of stiffness:
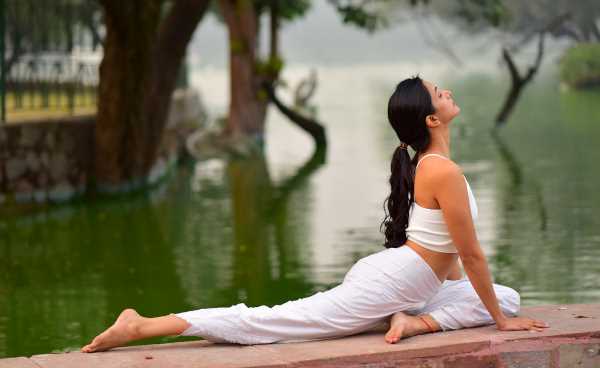
Eka Pada Rajakapotasana (Pigeon Pose)
This is specifically a hip-opener forward bend asana. This stretch is commonly seen in yoga practices. It can be used daily to improve mobility in your hip flexor.
How to do it
- Lie on your back with both knees bent toward the ceiling and the soles of your feet flat on the floor.
- Place your right ankle on the top of your left thigh with the right knee pointing out to the right.
- Lift your left foot from the floor. Keep both feet bent.
- Reach your right hand through your legs and your left hand around the left side to clasp your hands behind your right thigh.
- Draw your left thigh towards your chest. Your right knee continues to move away from your chest.
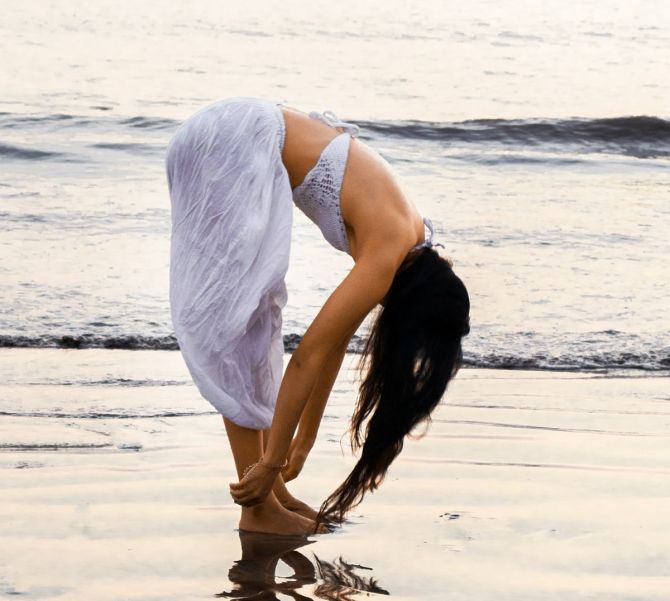
Hastapadasana (Hand-to-Foot Pose)
Hastapadasana stretches the muscles and can be performed as a warm-up exercise before lifting heavy.
It revitalises the nervous system and promotes proper blood circulation. The abdominal organs are toned and the spine becomes flexible after performing this yoga.
How to do it
- Stand with your feet together and hands at the side.
- While inhaling, raise both your hands from the front above your head.
- While exhaling, bring your hands down to touch your toes or grasp your ankles keeping your knees straight.
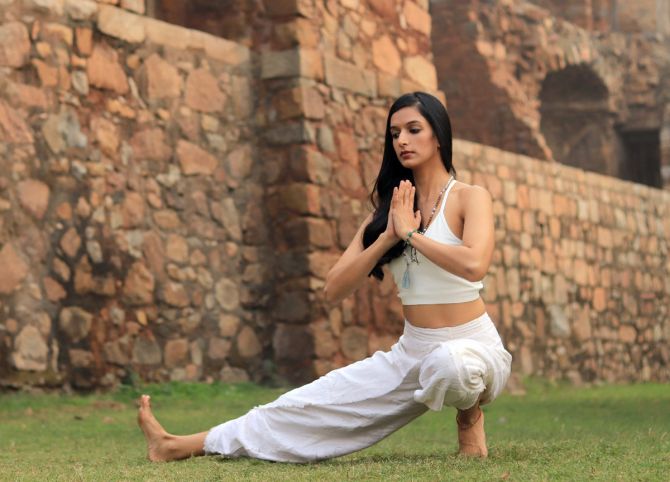
Ashwa Sanchalanasana (Low lunge pose)
Ashwa sanchalanasana is one of the yoga poses from a sequence of asanas performed in Surya Namaskar (Sun salutation).
This is an amazing pose to stretch and tone the hips and legs quadriceps, and groin.
The asana also opens the chest and stretches the muscles of the back.
How to do it
- Begin in vajrasana. Start from the thunderbolt pose, or vajrasana, in which you sit on your feet with your calves tucked beneath your thighs.
- Rise and step forward as such to make a 90° angle between your thigh and the calf.
- Breathe.
- Lift your torso, transferring your weight to your right leg and fully stretching your left leg. Your trunk should come forward while your back remains straight.
- Stretch deep.
- Release. Inhales and shift your body weight until you’re back in the thunderbolt pose.
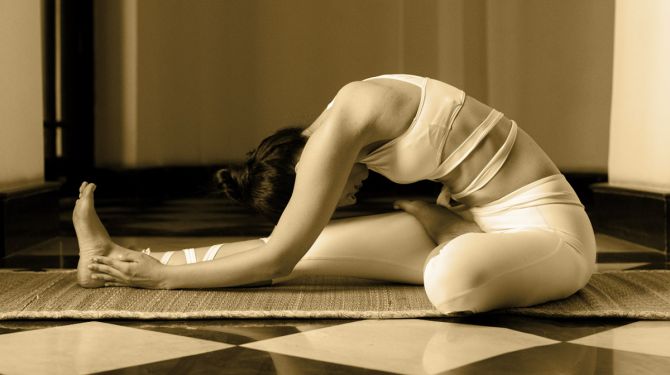
Janu Sirsasana (Head-to-knee pose)
Janu Sirsasana is an excellent stretch to relieve tight hamstrings and the muscles in the back of your thighs. It combines a forward fold, twist, and side body stretch all in one.
How to do it
- Place the sole of the left foot to the inside of the right leg’s inner thigh.
- Keep the left knee on the floor. Place the palm of your hands on the top of the right knee.
- Inhale and use your pelvic muscles, slowly bend the torso forward, sliding your hands towards the right foot.
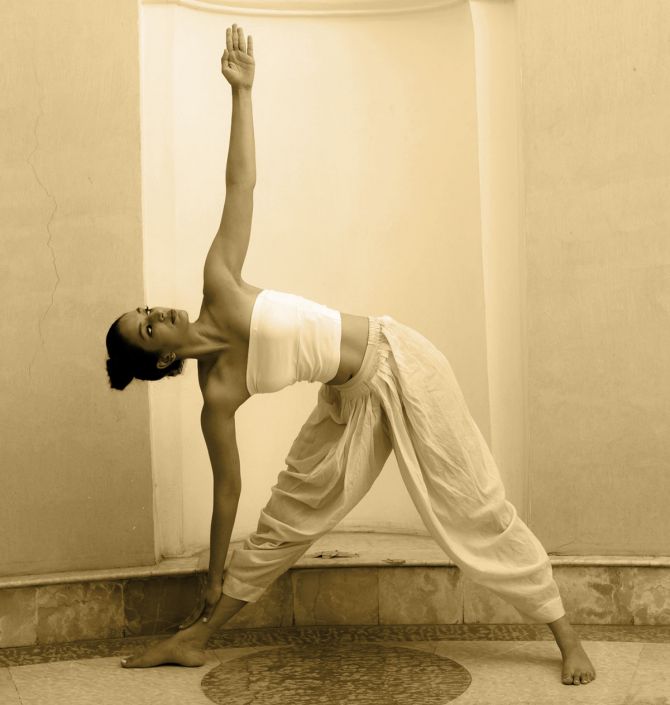
Trikonasana (Triangle Pose)
Trikonasana is a standing asana in modern yoga used as an exercise to increase stability.
Trikonasana activates your hip, vertebral column, knee, shoulder, thigh, hamstring, ankle, calf, inguinal region, and core muscles, which aid in strength and stability.
How to do it
- Stand straight with your legs apart.
- Inhale.
- Exhale.
- Simultaneously, slide your left arm down along your left leg till your fingers are at your ankle.
- At this point, your right arm must be horizontal as your head is tilted left.
- Hold the pose with your knees and elbows straight.
- Inhale.
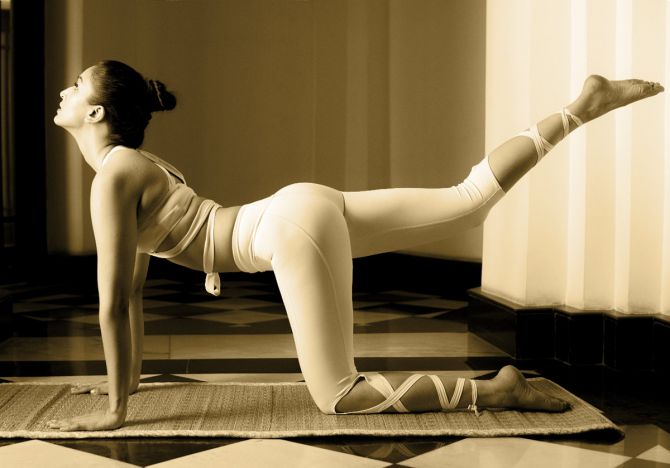
Bharmanasana (Table Pose)
Bharmanasana is a beginner pose practised to help bring balance to the body while the entire muscles in the body are equally stretched.
The gentle stretch is at the arms, shoulders, wrists, hips, core, thighs, knees and the spine, balancing and relieving the tensions.
Come to the floor on your hands and knees. Bring the knees hip-width apart, with the feet directly behind the knees.
Look down between the palms and allow the back to be flat. Press into the palms to drop the shoulders slightly away from the ears.
Breathe deeply and hold for 1-3 breaths.
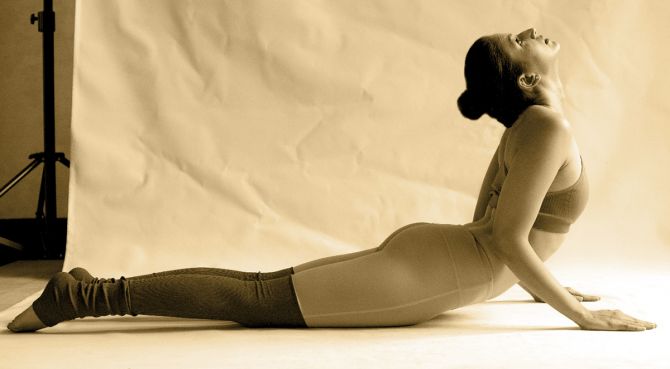
Bhujangasana (Cobra Pose)
Bhujangasana is also a part of the Surya Namaskar exercise.
It is a hardcore backward bend that needs to be done it targets the hip flexors, which are the muscles along the front of the thigh and pelvis.
In addition, you may also feel this stretch along the front of the torso and up into the chest! This can be a great stretch if you walk or run a lot.
How to do it
- Lie down on your stomach.
- Raise your trunk and head supported by the palms.
- Bend your arms at the elbows.
- Arch your neck and look upward gently.
- Make sure that your stomach is pressed on the floor.
- Put pressure on your toes by pressing them onto the floor.
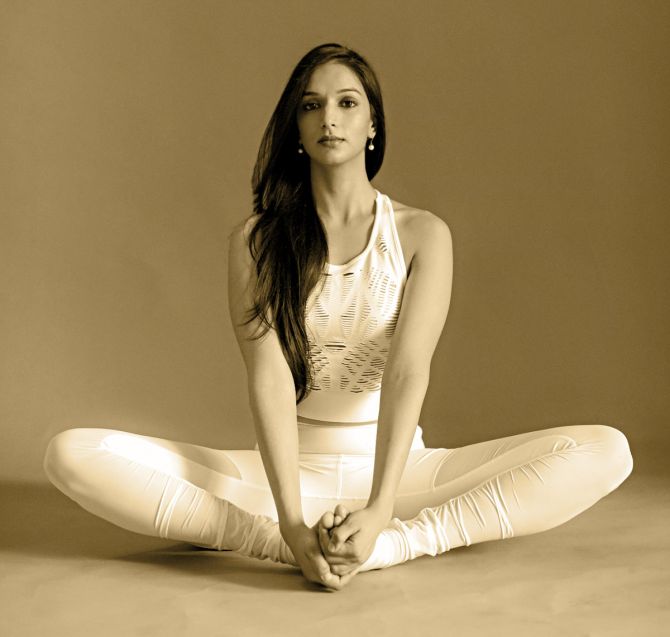
Baddha Konasana (Butterfly Pose)
Baddha Konasana is a go-to pose for opening the hips and stretching the inner thigh muscles.
This seemingly simple pose also strengthens your core and improves your posture.
How to do it
- Begin in a seated position.
- Gently bend your knees and press the soles of your feet together.
- Interlace your fingers around the pinkie-toe side of your feet or place your hands on your ankles or shins.
- Lengthen your spine and broaden across your chest.
- Draw your shoulders down and back.
Utthita Malasana (Extended leg squat)
Malasana, the Yogi Squat, is the king hip opener.
Malasana stretches the thighs, groin, hips, ankles, and torso.
It tones the abdominal muscles and improves the function of the colon to help with elimination. This pose also increases circulation and blood flow in the pelvis
How to do it
- From the Table position, tuck the toes under and walk the hands in towards the feet, keeping the knees bent and bringing the hips pressed down towards the heels in a squatting position.
- Walk the feet a little further apart until the torso is not resting against the thighs and the feet are flat on the floor.
Pashchimottanasana (Seated forward bend)
Pashchimottanasana is a deep stretch for the back of the body including the calves, hamstrings, and spine.
Forward bends can help relieve stress and even improve your mood.
How to do it
- Bring your arms straight out to the sides and up over your head, reaching toward the ceiling.
- Inhale and draw your spine up long.
- As you exhale, begin to come forward, hinging at your hips.
- On each inhale, lengthen your spine.
- On each exhale, deepen into your forward bend.
- Adding these 10 yoga poses to your daily practice will help you tone your legs, loosen your hips, and will give you relief from tight hips and also provide a full workout regimen of standing, sitting, bending, and lying down exercises.
Source: Read Full Article
